
This is my bedside table BEFORE I transformed it. I was debating for months whether to just source new tables that better suite my space or be creative and give my existing bedside tables an uplift.
STEP ONE:
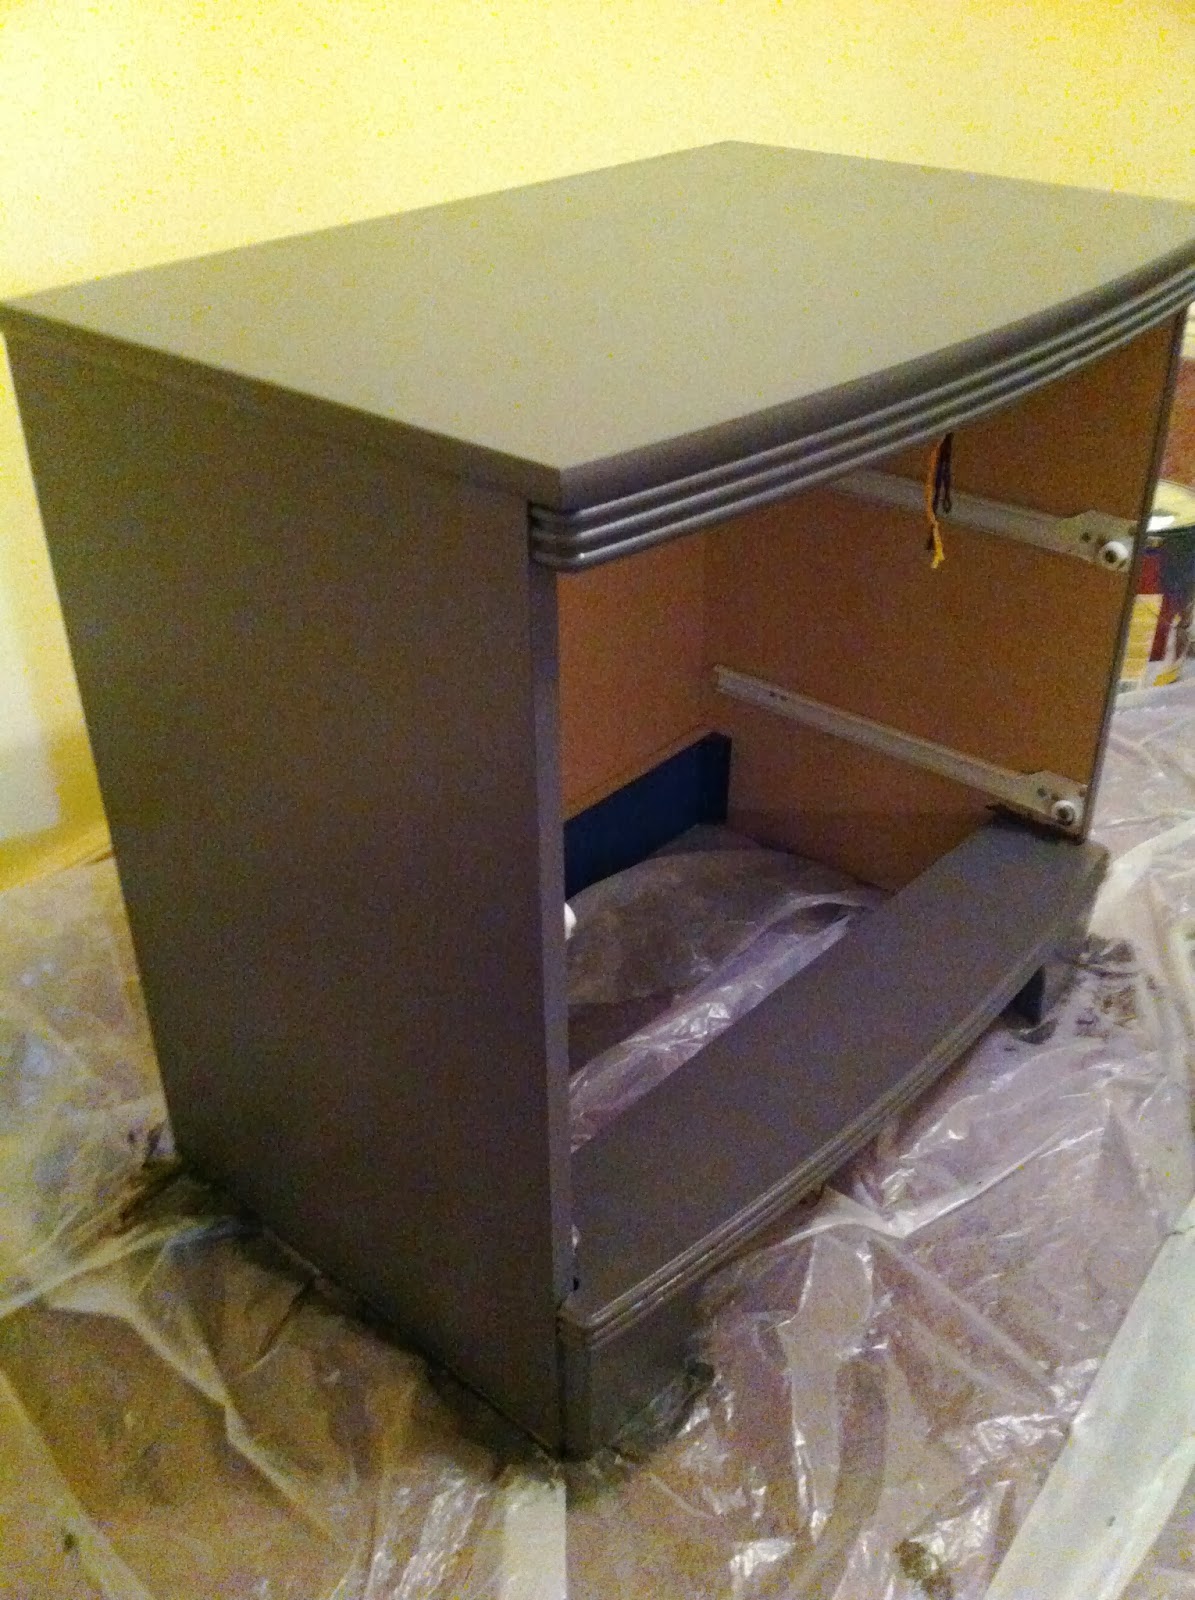
I started off by lightly sanding the entire table in order to prep for the painting. I then painted the piece (two coats to cover) Iron Mountain by Benjamin Moore which is a beautiful dark charcoal tone. I then sealed the table by using a clear satin Varathane.
STEP TWO:
Once your furniture piece is completely dry, use chalk & a ruler to draw out your desired design. I went with a simple, clean line look but you can do any pattern that suites your space. Once you have laid out your guidelines you are ready to start hammering.

STEP THREE:
Hammer, Hammer, Hammer...This part is a long process that requires some patience! You can save yourself a lot of time by buying nailhead trim for this. Unfortunately, I could not find the finish I was looking for so I opted for the individual nail heads. Fill in your entire pattern until you are happy with the design.
STEP FOUR:
 Install new hardware that looks great with the new look of the tables. I chose a glass knob that adds a bit of sparkle & matches the classic look of the new bedside tables.
This is my end result!

I am so happy with the outcome of my project and they look absolutely stunning. They add a sense of unique elegance to the bedroom & I have truly given them new life. Don't be afraid of tackling a DIY project, you will love the result!

No comments:
Post a Comment